Summer 2019 Trash to Treasure D.I.Y. Odyssey Part 1-Studio Renovation Update
Heavenly White Space
As you may remember, last summer I bought a two-story house with a walk-out basement as a potential art studio. Since then, I’ve been steadily renovating this space to create my own version of the artist’s ideal work environment, inspired by the white-walled studios of famous painters like Willem DeKooning.
As of Late
I’d like to update you on the latest projects I’ve completed over winter, spring, and summer of 2019. In fact, I’ve done so much to transform the space that this newsletter is only Part 1 of a three-part D.I.Y. series. It is the second update for the letter I wrote last fall entitled “Heavenly White Space.”
An Artist’s “This Old House”
I’m definitely a fan of shows like “This Old House” and YouTube channels like “Living Big In A Tiny House.” Watching shows like these can teach you so many tricks of the trade for home repair and clever innovations for maximizing space.
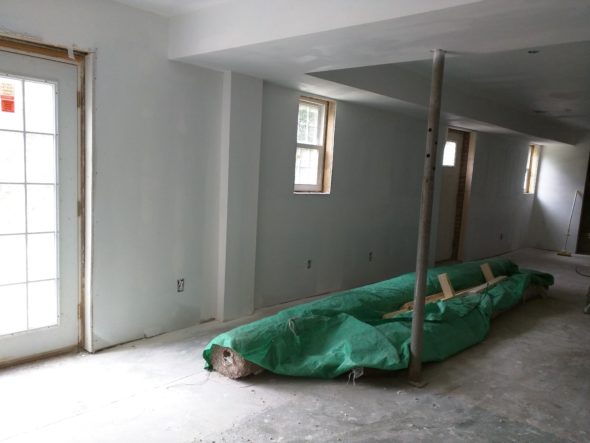
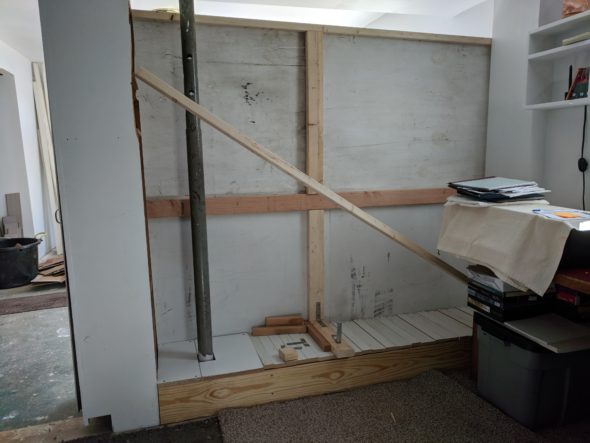
If you’ve ever indulged in shows like these, I’m wagering you may enjoy the triumph of an ongoing re-model story! The picture below shows where I left off back in November when I wrote the first update “An Artist’s This Old House.”
D.I.Y. Odyssey Part 1-Storage & Work Surfaces
…so welcome back to the revolving door of renovations at my studio, where things are finally becoming very organized…and for very cheap! Believe it or not, the amenities I’m about to show you were added at a very LOW COST, or even NO COST!
“Where there’s a will there’s a way!”
PROJECT # 1
BUILDING A (TWO IN ONE) DIVIDER WALL AND ROLLED MATERIALS STORAGE SHELF
For context, I’m showing a photo from the newly framed interior of the basement from summer 2018:
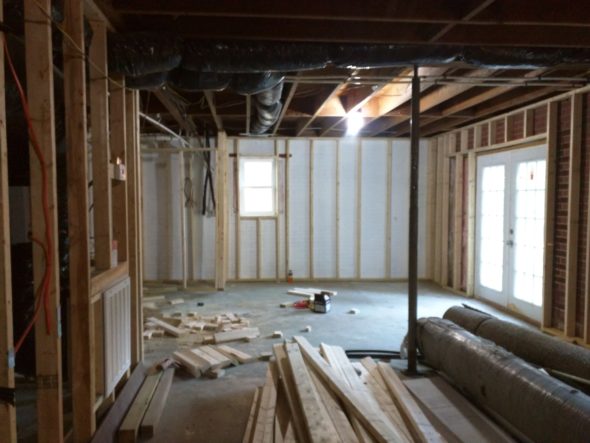
DRY WALLED INTERIOR
…and then a similar view of the newly dry-walled interior. Notice that same metal support beam just right of center:
ROOM DIVIDER/MATERIALS SHELF
That beam is shown below as part of the room divider project, which also serves as a rolled materials supply shelf. This is the structure in it’s early stages. I built it out of leftover 3/4″ plywood sheets I had been dragging around for years:
Salvaged Lumber
I also used scrap 2x2s and 2x4s, purchased cheap from the Durham Habitat for Humanity Restore. The only things I purchased at full price for this hook up were the two baseboards, metal hardware, and deck screws.
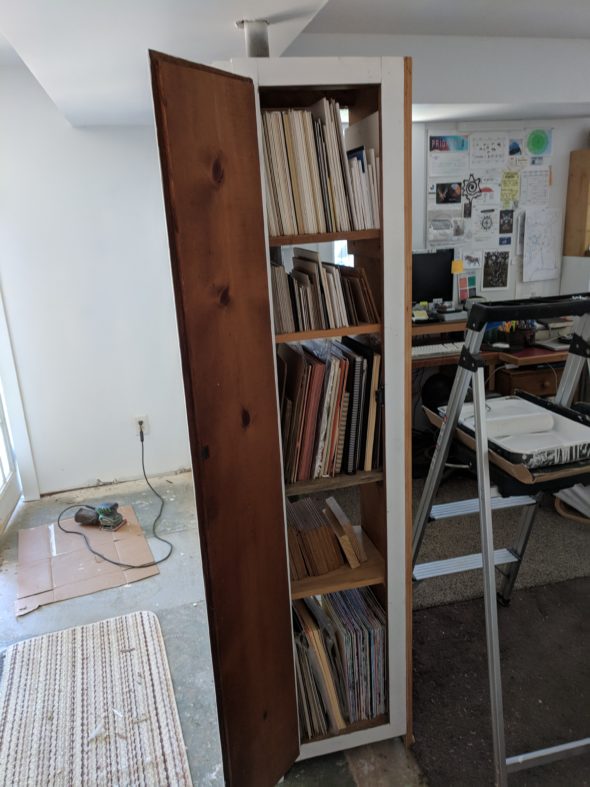
Curbside Cabinet
Attached on the left side is a full vertical pine wood cabinet someone had left on the curb for trash pickup. For sure, it was one of my best Saturday morning scavenge finds ever!
…and here you see a divider for the divider:
UPCYCLED WOODEN CABINET
This picture shows a better view of the up-cycled end cabinet (painted with zero-V.O.C. primer):

Here you can see what the cabinet wood looked like originally. I added the supply shelves myself (from scrap wood of course):
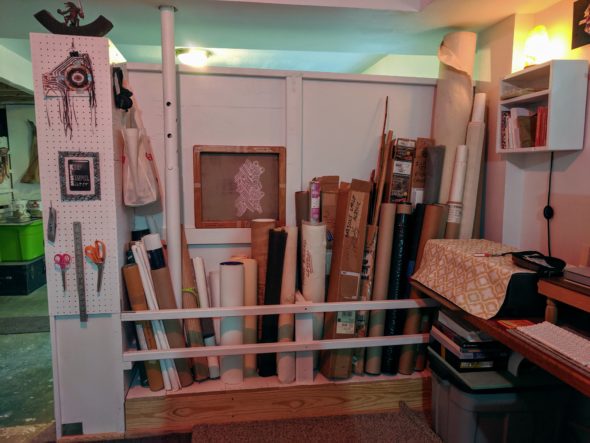
FINISHED DIVIDER/MATERIALS SHELF W/PEGBOARD
…and here’s the finished project with pegboard added onto the end cabinet for tools and such:
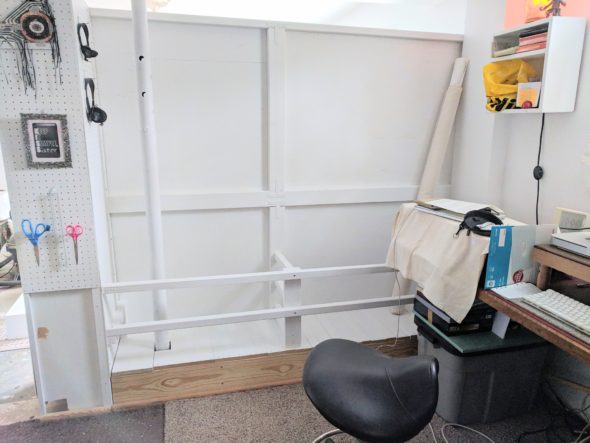
…and here it is serving its double purpose (materials shelf and space divider):
PROJECT # 2
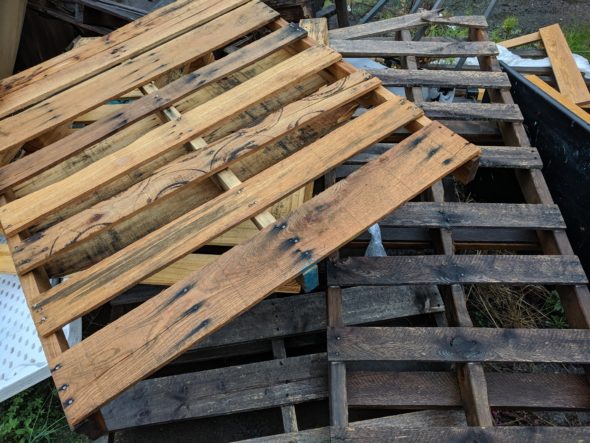
BUILDING A STUDIO DOLLY OUT OF TRASHED WOODEN PALETTES
A RUDE AWAKENING
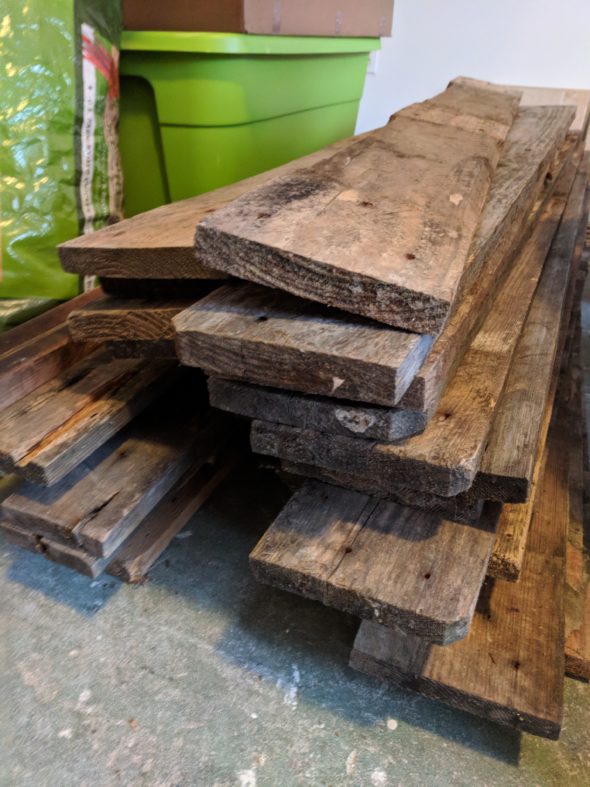
I had a rude awakening one morning last fall as I realized someone had dumped a huge pile of old wooden palettes on the side of the road, not far from my house.
At first, I was incensed at this ugly deed, but later that day it dawned on me that this was the FREE WOOD I needed to complete some more storage projects! Although the palettes were FREE, separating the planks was labor-intensive, taking the better part of a week:
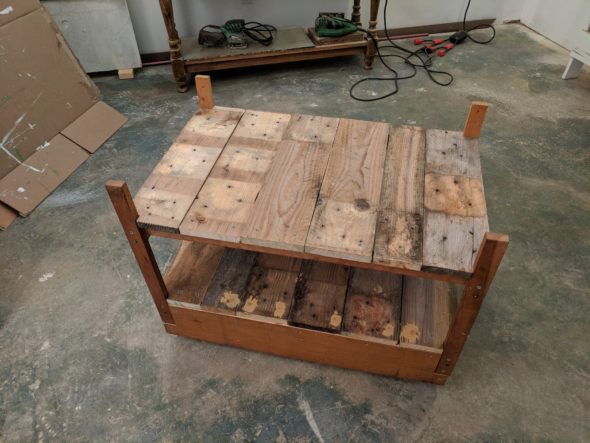
RE-PURPOSED BABY CHANGING TABLE
…so The original frame you see below was once a baby changing table that I built for my daughter 30 years ago while working for Walnut Street Theatre in Philadelphia.
Several pieces of palette wood were then sanded, cut, and screwed to the baby changing table frame…and “voila”!
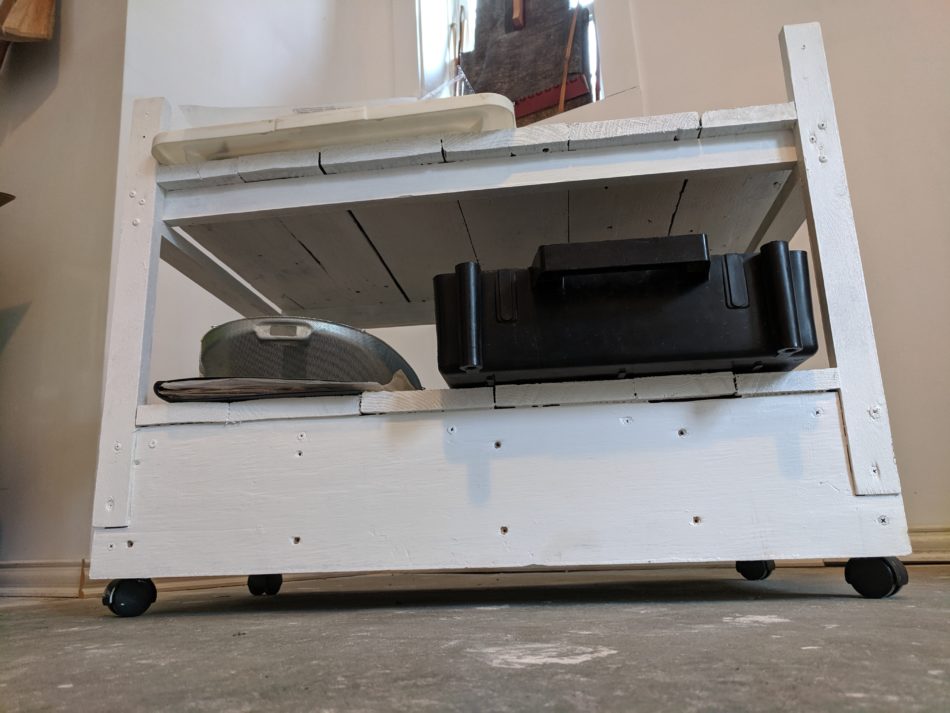
PAINTING & CASTERS
I painted the finished taboret with zero-V.O.C. white primer. Casters were added at the end:
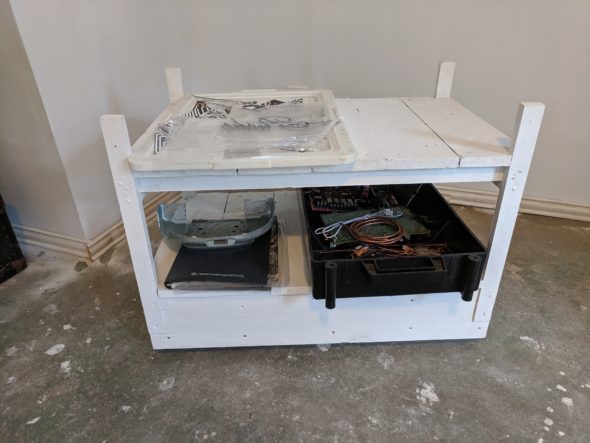
I added casters at the end:
…Well that’s all for D.I.Y. Odyssey Part 1!
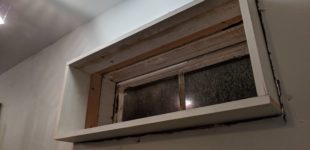
Stay tuned for Part 2 when I’ll share how I finished a basement window frame (all by myself!):
…I HOPE ALL THIS D.I.Y. DISCLOSURE WAS INTERESTING TO YOU…OR EVEN HELPFUL IN YOUR OWN CREATIVE EFFORTS.
ONE THING THAT INSPIRED ME AND KEPT ME GOING WAS A CONVERSATION I HAD WITH ROBERT ROSKIND, OWNER OF OASIS CAFE (IN CARR MILL MALL, CARRBORO, NC). ROSKIND IS THE GRANDFATHER OF THE “DO IT YOURSELF” MOVEMENT!


HE’S WRITTEN SEVERAL INVALUABLE BOOKS. TWO OF THEM ARE SHOWN ABOVE AND AVAILABLE AT HIS CAFE IN CARRBORO (AND ON AMAZON OF COURSE).