FROM TRASH TO TREASURE
A D.I.Y. ODDYSEY!
PART 4 2020 Studio Renovation Update
(…a fresh glimpse behind the scenes)
Greetings,
I know I haven’t posted for quite a while, but something tells me you can probably guess what I’ve been up to lately…
Yes, some serious studio DIY!
One thing about the pandemic is that it’s buying me the time to finish my studio renovations and shift my creativity to the artwork itself (news on that is forthcoming!)
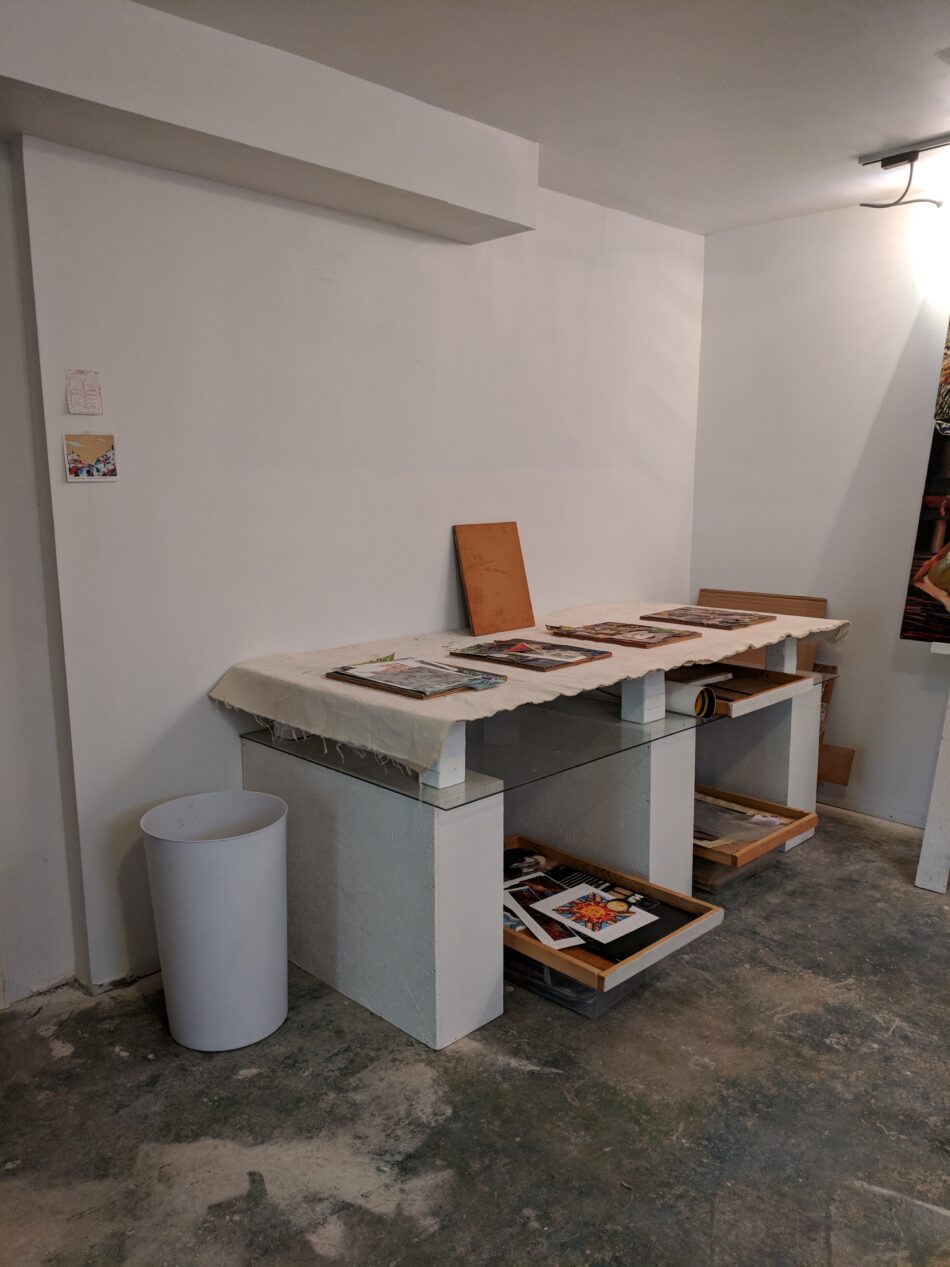
You may remember my previous DIY update (Part 3) where I shared my “accidental collage table” with you…something I made out of random up-cycled items, in other words, trash and scraps (see below):
With that said, this post is actually the fifth update on my original “Heavenly White Space” post!
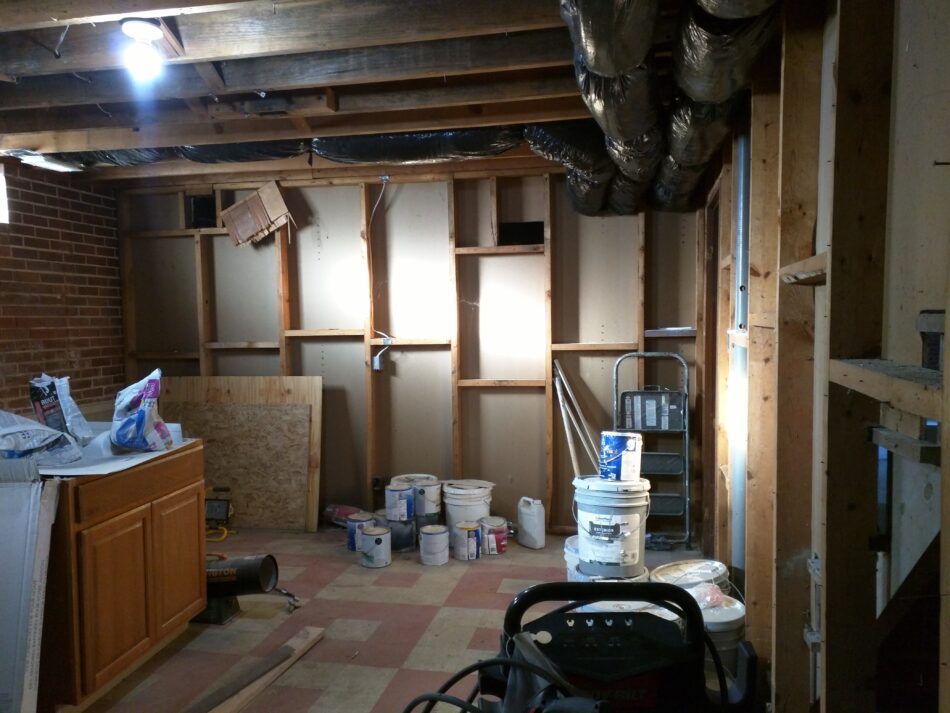
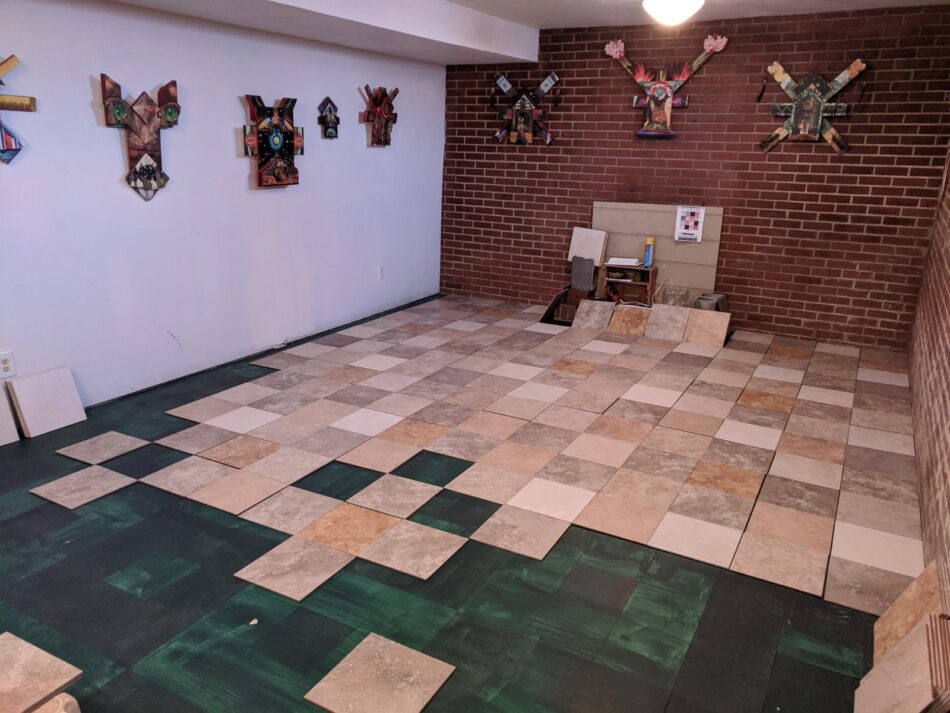
So next in line is the hodge-podge floor tile arrangement I installed in my studio side room, otherwise known as “the art den.”
…and, just for shock value, I thought I’d include a seriously demoralizing “BEFORE” photo of the “AS IS” den room, and also an early renovation shot (summer 2018):
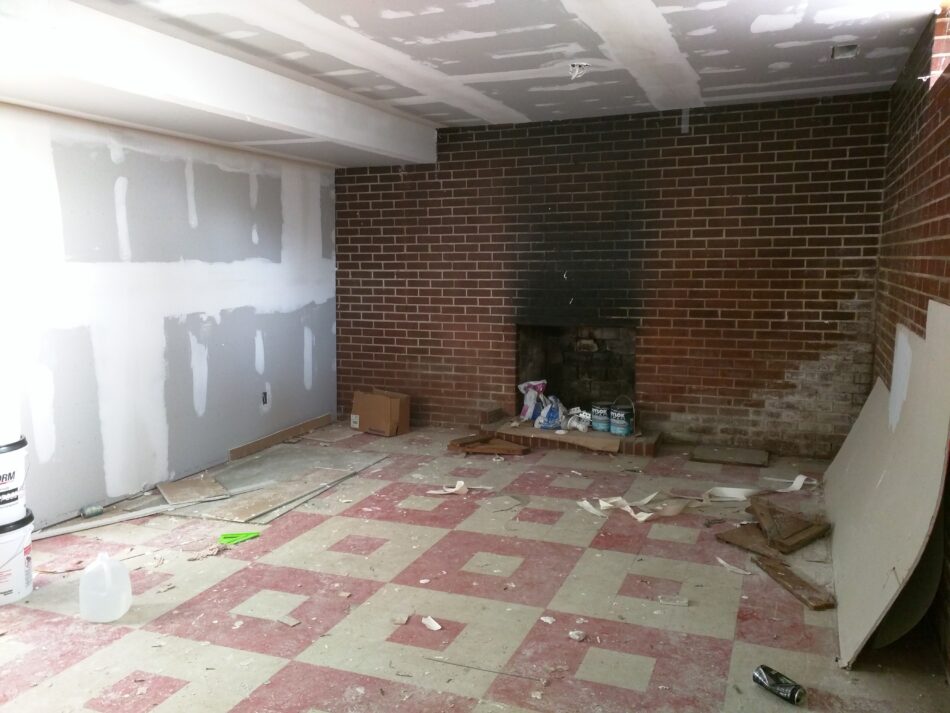
A D.I.Y. ODDYSEY PART 4, PROJECT # 5-
HODGE PODGE TILE ARRANGEMENT:
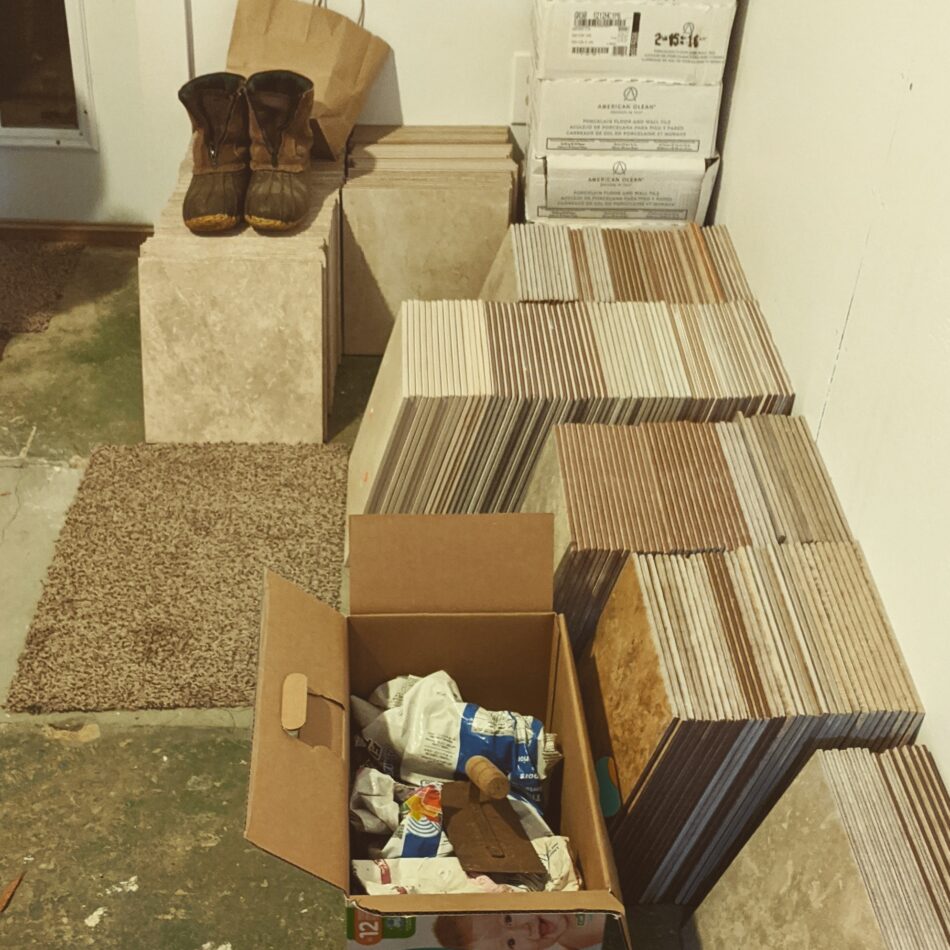
In 2018 I started collecting random tile castoffs bit by bit, choosing various dappled tones of tan, off white, gray and white:
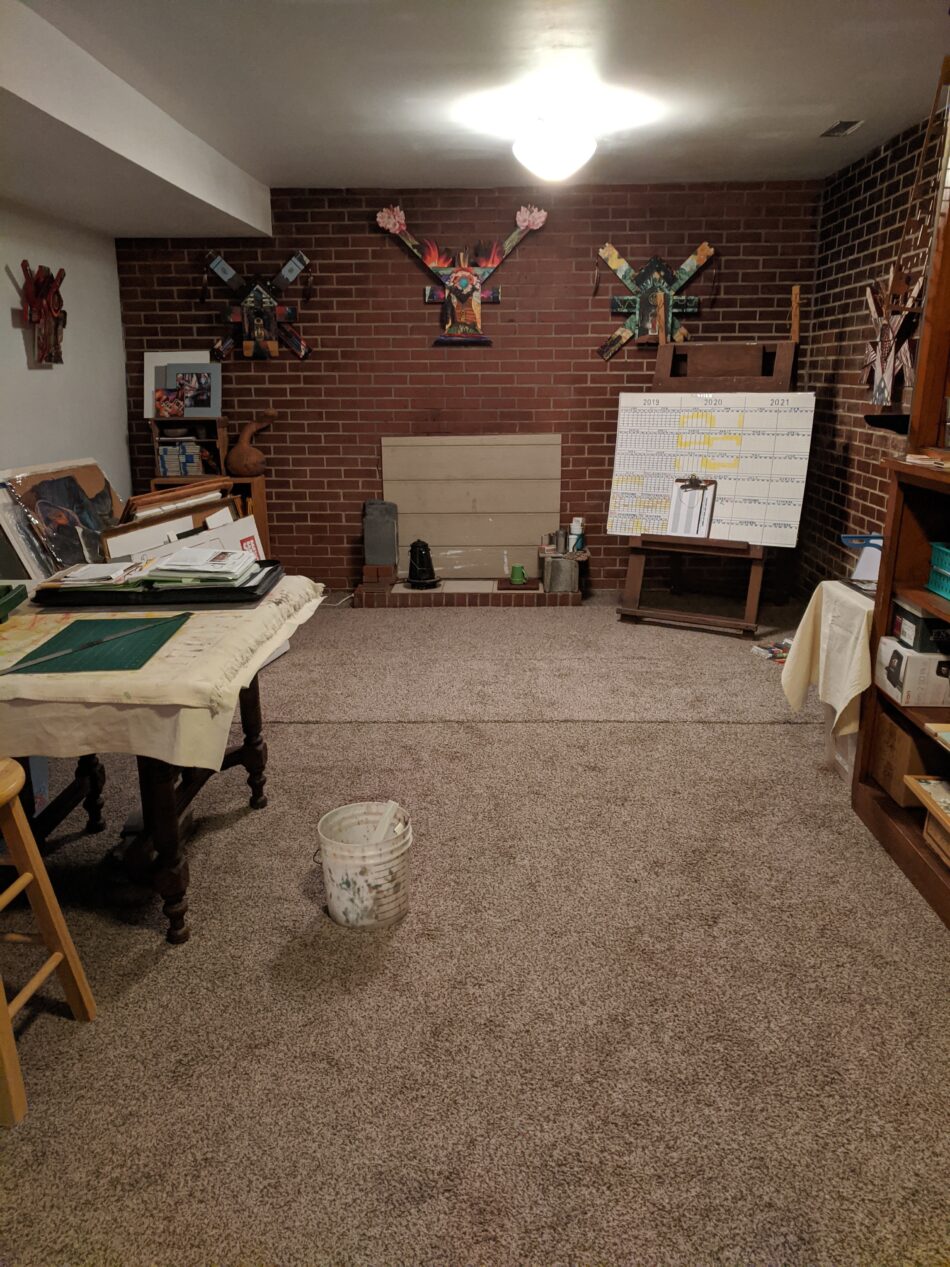
First order of business for tiling this room was to pull up the rug and cardboard under-layer that I had temporarily put down the previous year:
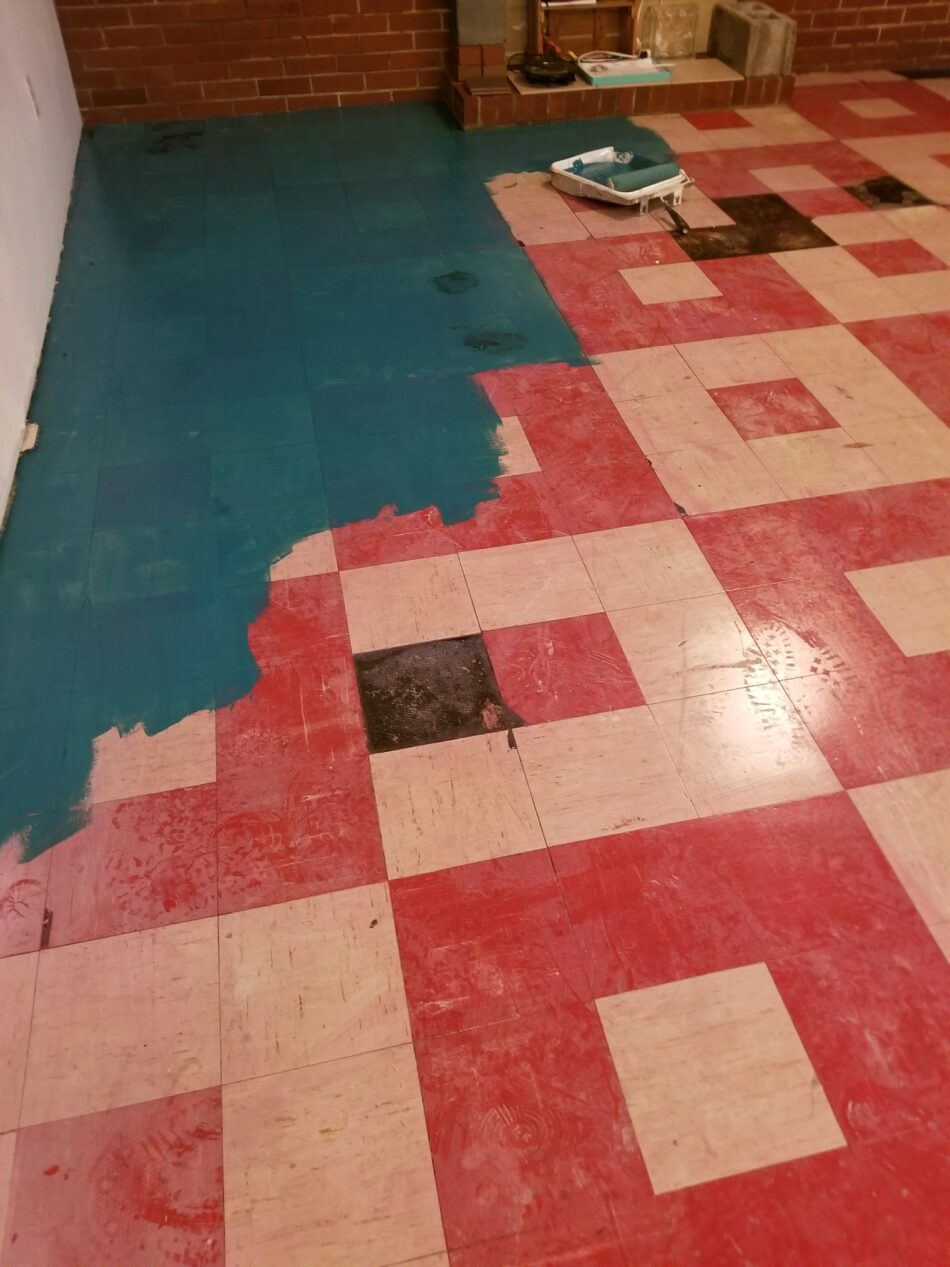
…then came sealing the studio floor with a layer of somewhat noxious primer. This had to be applied in order to install ceramic tile right over these “old timey” linoleum tiles from the 50s! You might ask, did I have help to accomplish this stage?…YES, I had someone do this for me.
Next came the “dry lay” of my multi-colored 12×12″ tile collection. You might ask, did I have help to accomplish this stage?…NO, I did not have help with this task. This was kind of like composing an abstract painting. It was a serious mind bending puzzle to create intentionality with these odd leftovers…and deal with the paradox of trying to imitate the randomness of nature. The overall effect actually reminds me of Congolese Kuba cloth in a sense >

…so I just took a day or two to explore the contrasting of warm and cool with white and rust accents etc… etc….
I wanted to configure it in a way that I thought would look “super legit” as the kids at school would say.
Click the link here to see these works close up:
https://www.alyssahintonart.com/iconic-sculptures
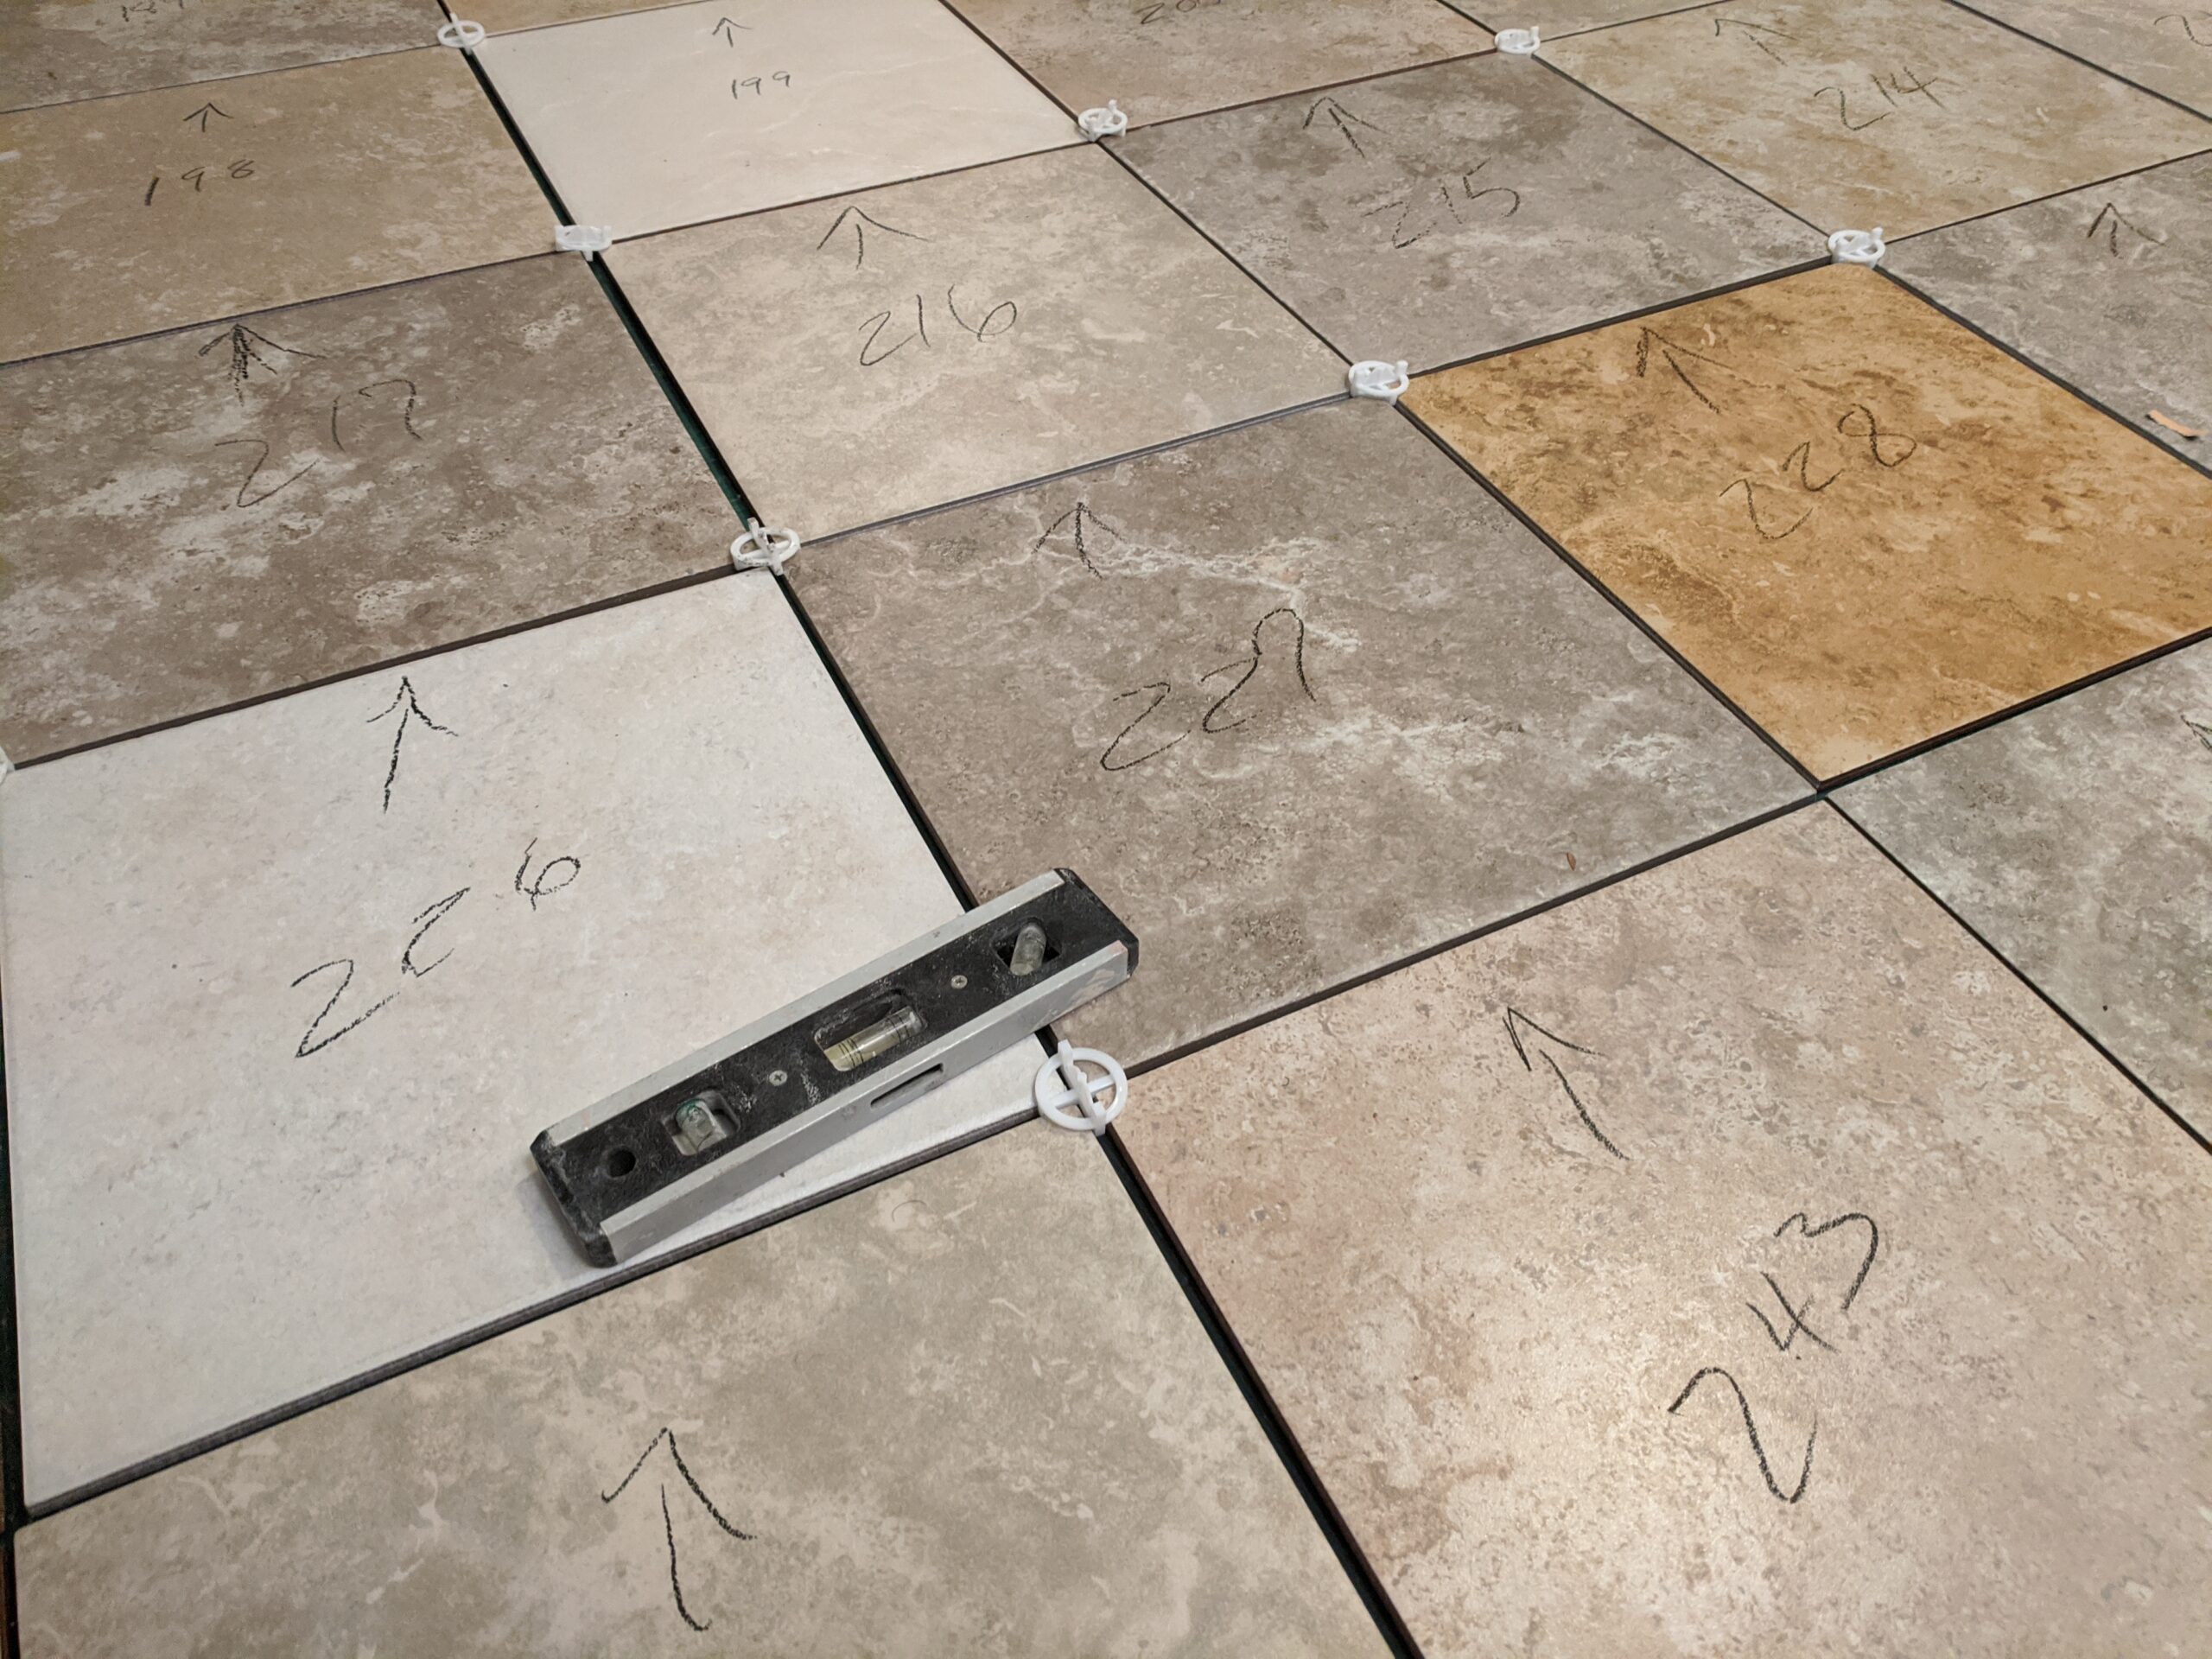
One truly laborious task was placing the little plastic spacers for the grout lines. It turned out these 12×12″ tiles are not all exactly 12×12″ (depending on the brand), so it took longer to get them reasonably aligned. We numbered the tiles for fear of loosing track of exact pattern:
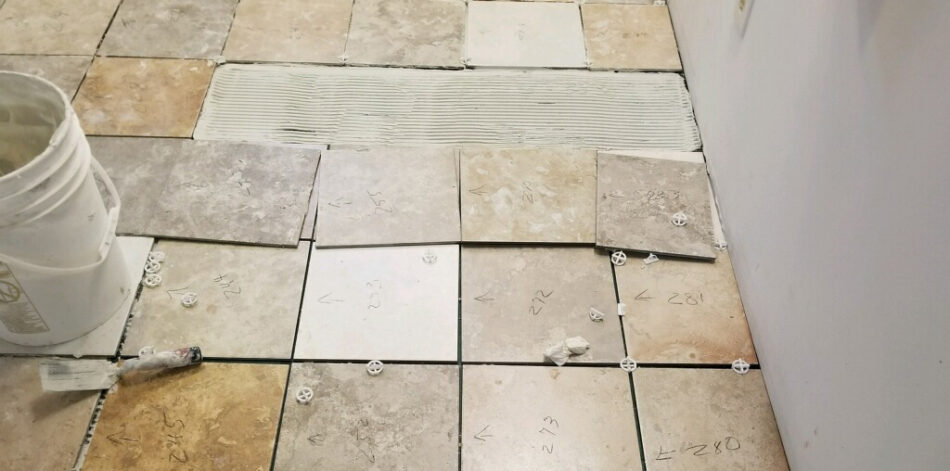
“Buttering” the floor with mortar, as well as custom cutting the tiles to fit along the edges took days on end (YES, I had someone else do this step for me):
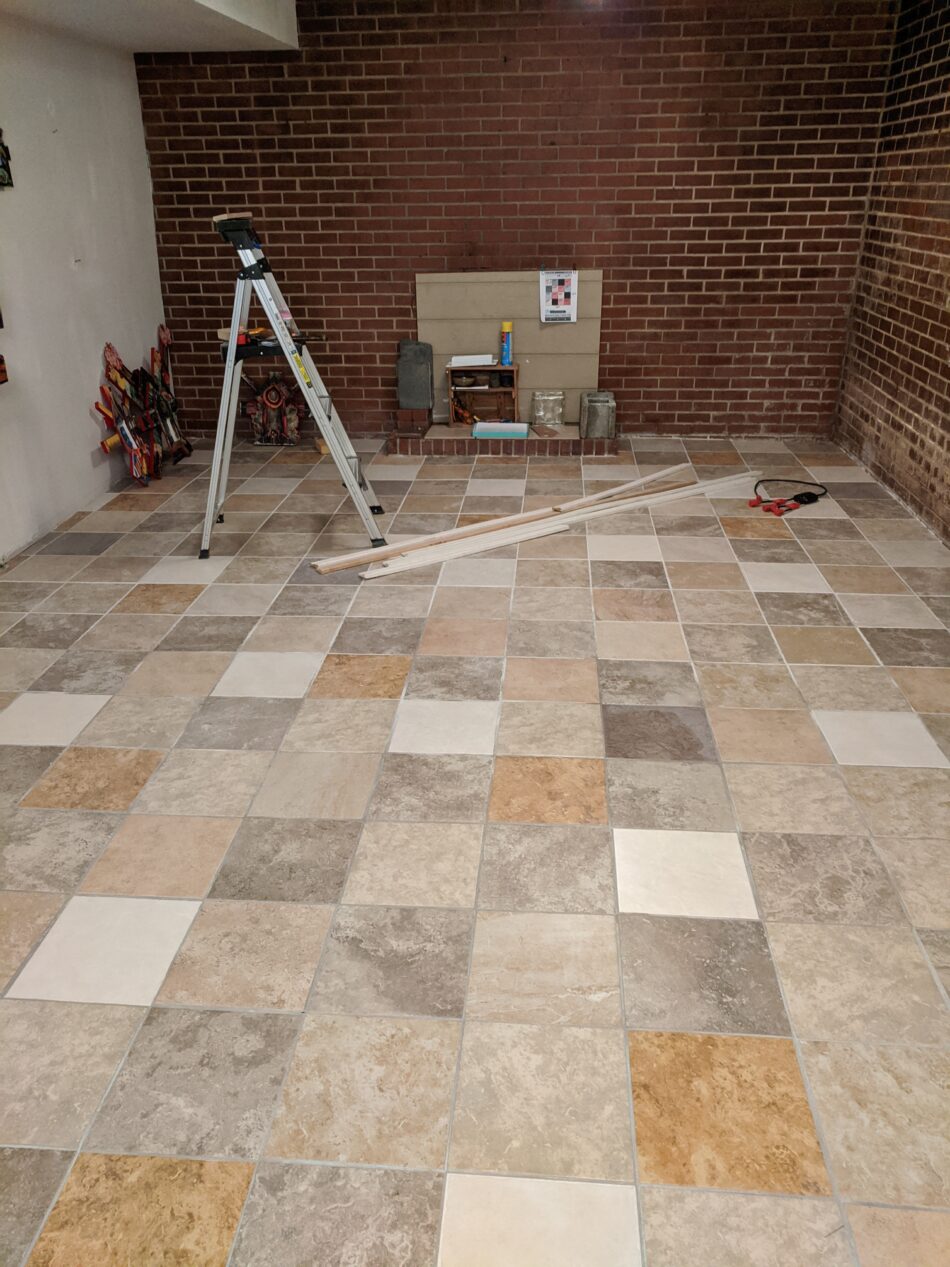
Finally came the grouting stage, cleaning the grout haze off the tiles, and cutting, painting and installing the baseboards (which were scraps as well):
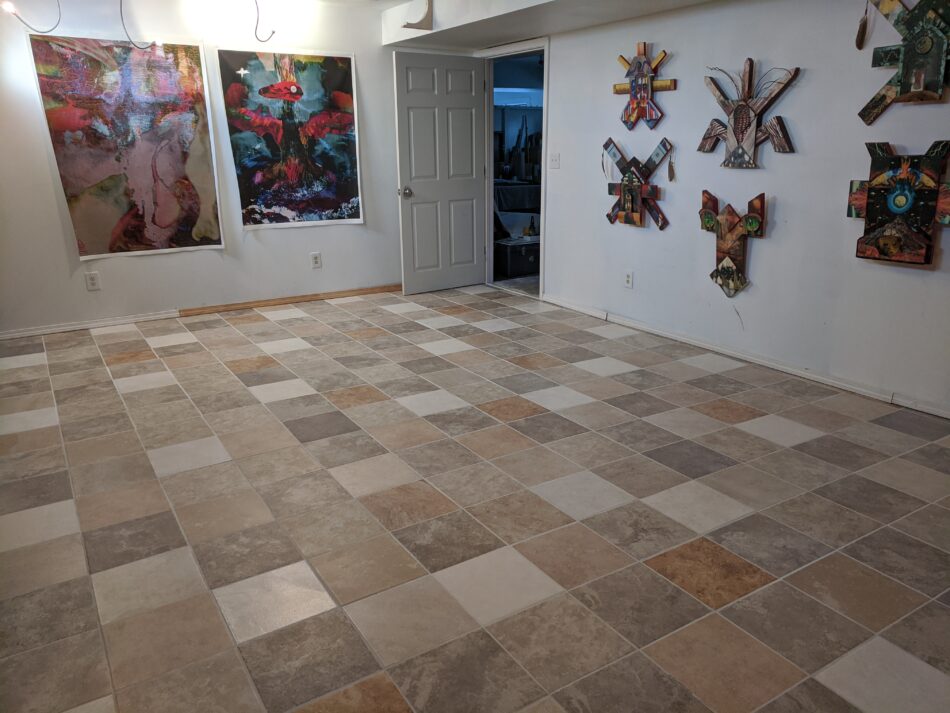
The works on the walls are part of the Ancestral Spaceship series of iconic assemblages.
Click the link here to see these works close up:
https://www.alyssahintonart.com/iconic-sculptures
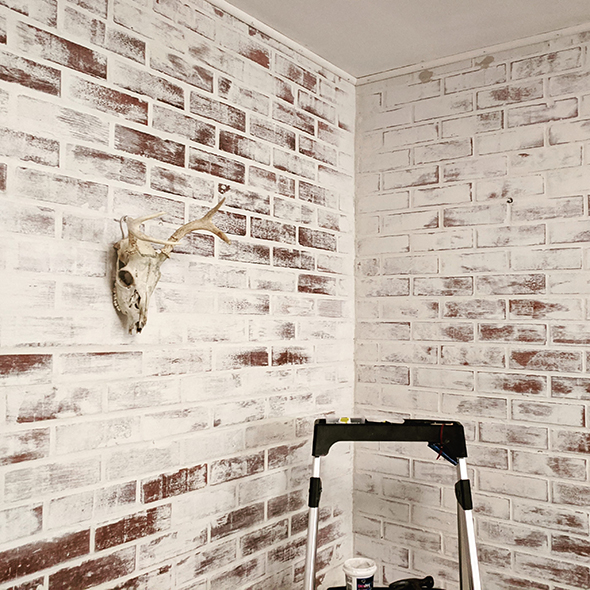
So there you have it…but that’s not all she wrote! In my next DIY account, I’ll share with you my brick wall treatment, known as German Schmear!!
SO STAY TUNED FOR
A D.I.Y. ODDYSEY!
PART 5
German Schmear Brick Wall Treatment
(A.K.A. killing at least 3 birds with one stone!)